For as long as there have been people, we have found ways to have fun. Find out how to play some of history’s most popular games!
Tag: CROP
Seeds
Just about everything we eat either comes from seeds or eats them. Join Luke as he talks about why seeds are important for our community and begin to grow your own seed!
Shapes
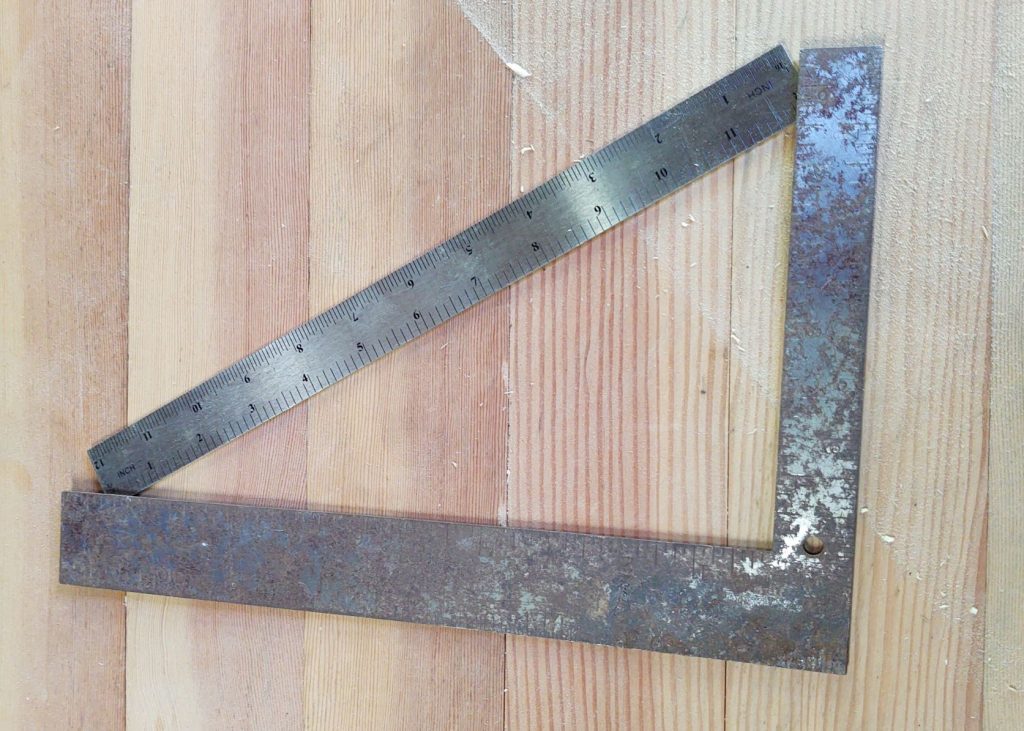
Everything we see in our lives is made up of shapes.
Some shapes, like triangles, are easy to spot. Others are so big that we don’t have names for them yet! We will learn about some of these shapes and make our own using PlayDoh.
Watch the video and follow along with the activity guide for your grade level (K-1, 2-3 or 4-5).
Choose the Shapes Activity Guide by grade level:
Reading Maps
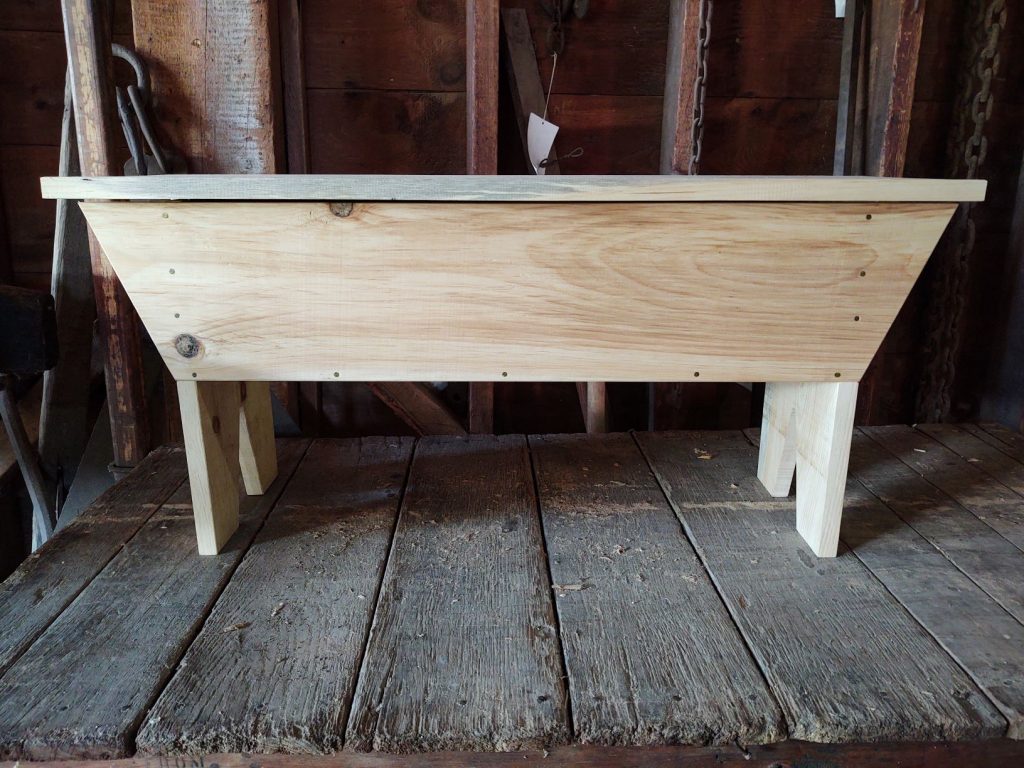
Did you know that you can tell how tall a mountain is by looking at a map?
If you are ever planning on going on a hike through the woods or on a mountain, you are going to need to learn how to read a map. Luke will explain what the different lines mean on maps, and then you can make your own maps and a 3D mountain.
Watch the video and follow along with one of the following Activity Guides.
Learn about Ice Houses
Our November activity focuses on ice houses.
What is an ice house? An ice house is a building designed to store blocks of ice. Before electricity, the only way to access ice was to cut it from ponds and lakes during the winter, and to store it in ice houses to keep the ice frozen through the spring and summer. An ice house’s system of vents, drains, and insulation kept ice cold. Upstate New York and New England sent their ice as far as India and Australia! At Hanford Mills Museum we still harvest ice from the pond every February and store it in our ice house. We use the ice to chill the ice cream that we make at our Independence Day Celebration in July.
Supply List:
Model Ice House
- Cardstock template
- 2 Paper cups (flattened for shipping, please unflatten)
- Glue stick (CROP provided)
- 2 ice cubes
Snowflake Activity (K-3)
- Blank sheet of paper
- Scissors (CROP provided)
‘Zine Activity (4-8)
- Paper template
- Scissors (CROP provided)
Choose the video that matches your grade level (K-1, 2-3 or 4-5) and get ready to Learn with Luke! Scroll down to see step-by-step instructions for each activity.
Instructions
Activity One: Building and testing an ice house
- Take the cardstock template sheets out of this kit.
- Cut out the five squares along the solid lines.
- Fold the cardstock on the dashed lines.
- Take the two squares with dashed lines and add glue to the space between the dashed lines and the edge of the paper.
- Attach the two smaller walls to the glued sections, lined up on one side, like in the picture below.
- Once you glue all four walls together, place the final piece of paper on top of the ice house. Do not glue the roof on top so that you can take it on and off. There should be a gap between the roof and two of the sides: ice houses have vents to let warm air rise out.
- Now, let’s compare what happens when we put one ice cube in the ice house and leave one out in a cup.
- Remove the flattened paper cups from the envelope and carefully return them to their original shape.
- Open the top of the ice house, place the paper cup inside, and place one ice cube in the cup. Place the top back on the ice house.
- Place the other ice cube in the other paper cup.
- Leave both out either under the sun or a light for about 30 minutes. You can do Activity 2 while you wait.
- Check the ice cubes. Which one melted more? The one on the plate likely melted a little more because it did not offer the protection of the ice house!
Activity 2 (Grades K-3) Making Snowflakes
What are snowflakes? Snowflakes are tiny ice crystals that fall from the sky! Like human fingerprints, every snowflake is different. We are going to make our own snowflakes and see the different kinds of shapes we can make with them.
- Fold your blank piece of paper in half
- Keeping the paper folded, fold it again in the other direction, as in the picture.
- Stop and check! Does your paper look like the folded piece in the picture below?
- Now you can design your snowflake! The pattern you draw on one quarter of the paper will determine what all of the quarters of your snowflake look like. The corner where the folded edges connect will be the center of your snowflake. When you draw your snowflake pattern, start and end the lines on the folded edges (so your snowflake will stay in one piece after you cut it).The lines can be different shapes but be careful not to cross the lines. Look at the picture below to get an idea of what this looks like.
- Carefully cut out along the lines, starting from the edge of the folded paper, to create the snowflake. Be careful not to cut across the lines or chop across the paper.
- When you are done cutting along the lines, gently unfold and open up your snowflake! There is probably nothing else like it in the rest of the world.
Activity 2 (Grades 4-5) n-ICE facts: A ‘zine all about cool ice knowledge
What makes ice special? For this activity, we will explore some cool facts about ice and create a mini-magazine, or ‘zine, filled with what we learned. Many of these facts pair well with pictures, so please feel free to draw an image that goes along with the fact. Some interesting things about ice are:
- Earth goes through warming and cooling cycles. Some scientists think that Earth was so cold at one point that it was covered in ice. This was called “snowball Earth.”
- Ice doesn’t just exist on Earth. Astronomers have found it on Mercury, the moon, Mars, and other extraterrestrial objects!
- Most of the freshwater on Earth is ice found at the North Pole, South Pole, and Greenland.
- Ice can grow to incredible thickness in Antarctica. One area has been measured to be almost 3 miles thick!
- As glaciers grow and melt, they move land with them. Much of where we live was shaped by glaciers.
- Before freezers existed, people in warmer parts of the world had to order ice from colder places. The northeastern U.S. used to be one of the big ice makers, shipping ice from New York to places like Australia and India.
Step 1: Fold your sheet of paper in half, so the gray stars line up.
Step 2: Open your sheet up and fold it in half, so the gray circles sides line up.
Step 3: Keeping the sheet closed, fold up both sides so the mini-zine looks like a letter “M.”
Step 4: Open up the sheet and fold it on the creases so it is folded up the way it was when the circles lined up. Cut the paper down the center on the dashed line down until you reach the middle of the sheet: do not cut the paper all the way.
Step 5: Unfold the paper and refold it that the stars line up again. Open up the paper so that it looks like a “+” from the top.
Step 6: Hold the ends of the paper with the dots and move those two sides towards the middle, then crease the paper together again.
Step 7: Your zine is almost finished! All that’s left to do is fill each page with a fact and picture.
CROP Video Lessons & Kits
 From its start as a seasonal sawmill in the 1840s, the Hanford family expanded the Mill to also include a gristmill, feed mill, woodworking shop, and hardware store. Today, Hanford Mills Museum shows how mills, which were once common in rural towns, operated.
Hanford Mills Museum is a program partner of the Creating Rural Opportunities Partnership (CROP). These combination video and activity lessons are based on CROP programs and can be easily done at home.
CROP VIDEO LESSONS
Seeds
Just about everything we eat either comes from seeds or eats them. Join us as we talk about why seeds are important for our community and begin to grow your own seed! Watch the video
Games
For as long as there have been people, we have found ways to have fun. Find out how to play some of history’s most popular games! Watch the video, read the activity guide and see how to make your own games.
Reading Maps
Did you know that you can tell how tall a mountain is by looking at a map? If you are ever planning on going on a hike through the woods or on a mountain, you are going to need to learn how to read a map. Luke will explain what the different lines mean on maps, and then you can make your own maps and a 3D mountain. Watch the video and download activity guide
Shapes
Everything we see in our lives is made up of shapes. Some shapes, like triangles, are easy to spot. Others are so big that we don’t have names for them yet! Watch the video and download activity guide.
Learn About Ice Houses
People have used ice to cool things for hundreds of years. Before electric freezers existed, people would store ice in special buildings called ice houses. Join us to learn how they work and for a fun ice experiment! Watch the video and download activity guide.
CROP KITS
From its start as a seasonal sawmill in the 1840s, the Hanford family expanded the Mill to also include a gristmill, feed mill, woodworking shop, and hardware store. Today, Hanford Mills Museum shows how mills, which were once common in rural towns, operated.
Make Your Own Crate
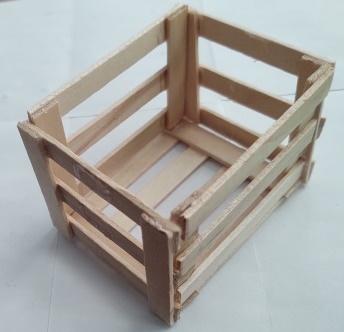
In the late 1800s and early 1900s, Hanford Mills made thousands of wooden crates for local farms. Crates played a major role in shipping Delaware County’s food products. Farmers used the crates to transport vegetables and creameries used crates to ship dairy products. Enjoy making your own mini crate!
You will need:
10 long craft sticks, 16 medium craft sticks, glue
Watch the video
Make Your Own Catapult
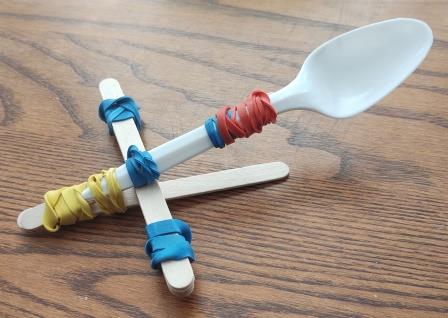
Even the complicated power tools that we use today are made up of at least one simple machine. Simple machines (belts and pulleys, levers, wheels and axles, inclined planes, screws and wedges) operate everything from the sawmill at Hanford Mills, to the most technologically advanced robots. This catapult is a combination of two simple machines (a lever and a wedge). How far can you launch your cotton ball?
You will need:
7 craft sticks, 7 rubber bands, 1 plastic spoon, 3 cotton balls
Watch the video
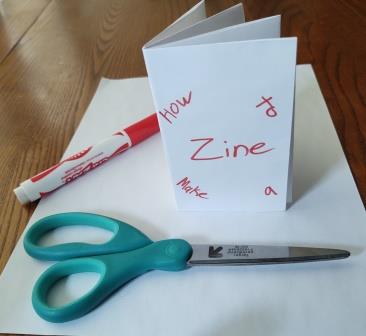
Make Your Own Zine
A zine is a mini-magazine. You can make a zine about anything that you want, but here are two ideas:
1. Living in Upstate New York gives us many wonderful opportunities to explore nature. At Hanford Mill Museum we share our site with raccoons, squirrels, chickadees, and deer. We also have many kinds of plants, including grass, maple trees, and cattails. And the Museum’s site is just one example of an animal habitat. With your zine, check out what is in your yard. What can you see? Use your zine as a journal and draw some of the different plants and animals you see!
2. Museums take care of important objects, both old and new, and share stories about them and the people who owned/used them. If you could make a museum using things at your house, what would you want to share with other people? Choose some items that are important to you and share them with drawings and/or write about their stories.
You will need:
a sheet of paper, colored pencils, scissors
Watch the video
